How to create a Metamask wallet & connect it to Blokpax
Connecting your MetaMask wallet to Blokpax is simple and a must to have the full Blokpax experience. Here are some instructions on how to do just that.
QUICK VIDEO WALK-THROUGHS:
How to make/import a new MetaMask wallet:
Visit MetaMask.io (We recommend using a desktop for initial setup.)
Click the “Download” or “Download now” buttons on the homepage.
Click “Install MetaMask for Chrome” (There is also an option to install MetaMask for Firefox, Brave, and Edge - as well as iOS and Android but Chrome is our suggestion. You can download the MetaMask app for your smartphone and access your wallet from the app as well. We’ll walk you through syncing your wallet below).
You should now be in the Chrome Web Store. Click “Add to Chrome” to add the MetaMask extension to your browser. After installation, you’ll be able to access MetaMask by clicking the puzzle piece and MetaMask logo (fox head) at the top right corner of your Google Chrome browser.
After you click “Get Started” you will be asked to choose between importing an existing wallet or creating a new wallet. If you do not already have a MetaMask wallet, click “Create a Wallet.”
You’ll need to create a password for your MetaMask wallet. We recommend creating a strong password that you will remember and have not previously used. Once you’ve agreed to the terms of use click “Create” and you will now be able to access your MetaMask wallet!
Now you will be able to view your seed/secret phrase. This is a 12 word sequence that can be used to recover your wallet. Your seed phrase is not a sentence. It is a random sequence of words. That being said, it is very important to print or write this phrase down somewhere (maybe even make multiple copies) and keep this private. It is VERY important to keep up with this phrase to ensure that you are never locked out of your wallet and unable to access your assets. If you forget your password this seed/secret phrase is the ONLY recovery mechanism.
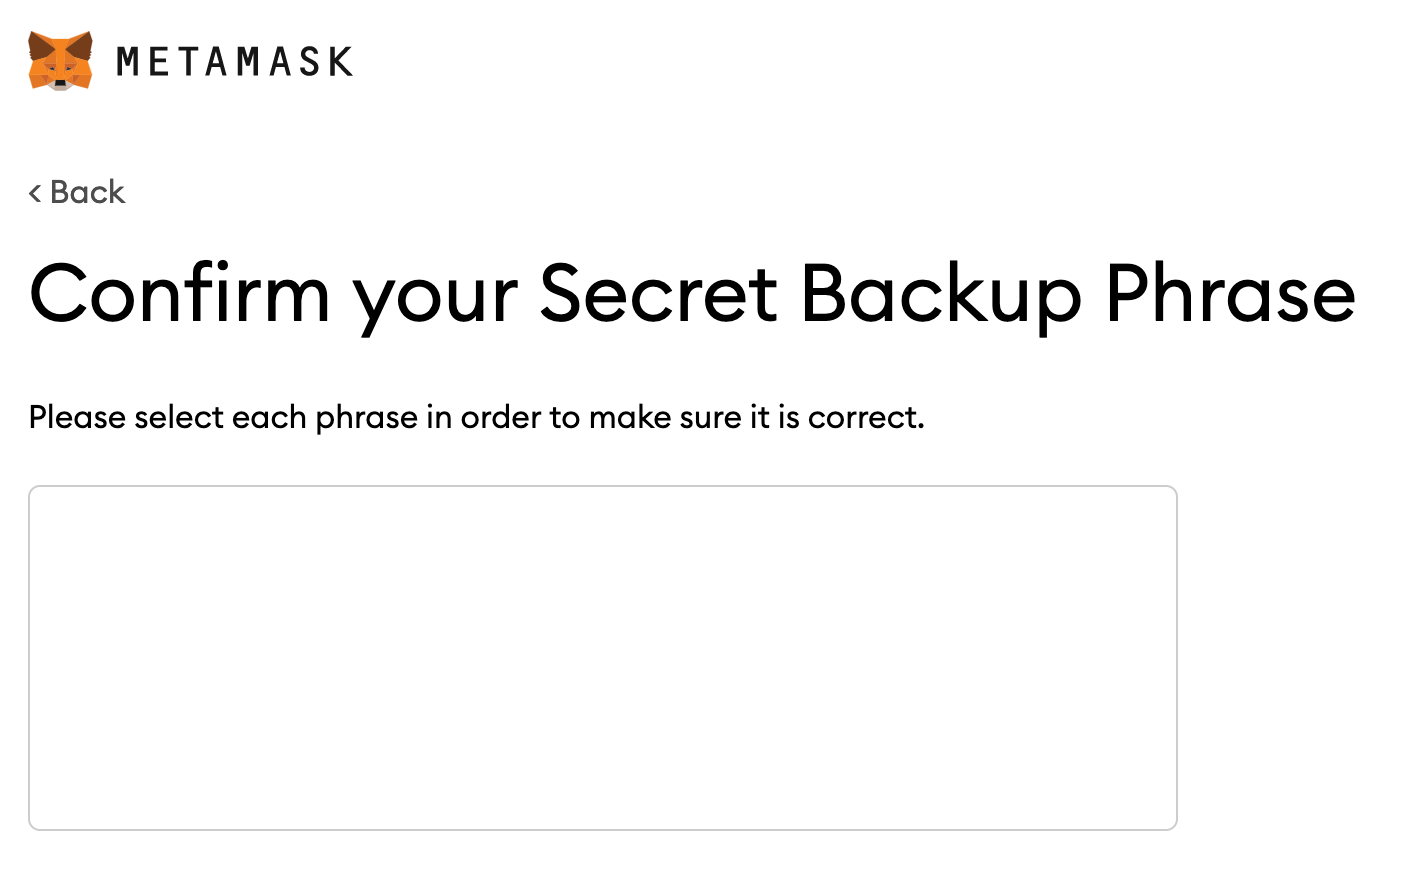
After you have written out your seed phrase (hopefully in numerous places - and stored in a secure location) you’ll click “Next” and be prompted to confirm your seed phrase by clicking the right words in the right order.
Lastly, click “Confirm” after correctly selecting your seed phrase and then click “All Done.”
You should now be able to access MetaMask by clicking the puzzle piece at the top right corner of your Google Chrome browser (you can pin the extension if you’d like to avoid clicking the puzzle piece first each time).
How to sync your MetaMask wallet on mobile app:
Install the MetaMask app to your phone (available in the app store).
Open the app and click “Get Started.”
Next, click “Sync with MetaMask extension.”
Now you will need your computer to access your MetaMask wallet. Use the desktop extension you previously installed and use your password or seed phrase to open your wallet (keep your phone close by).
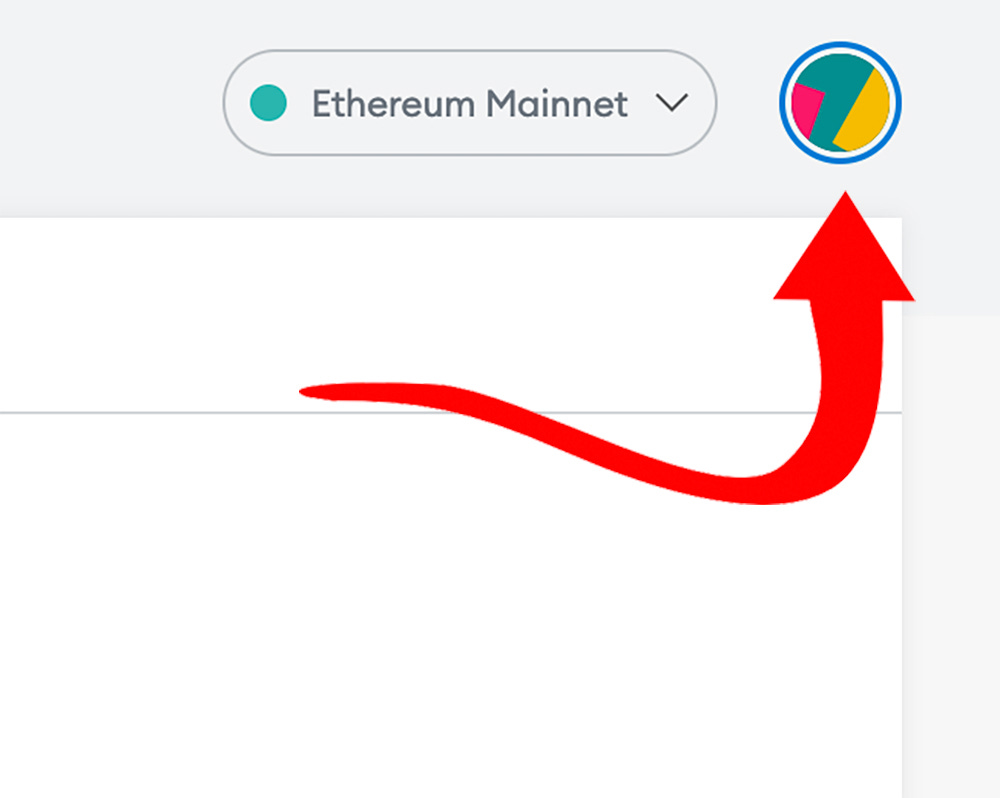
Once you’ve opened your MetaMask wallet on the desktop version, click on your account photo in the top right corner, then go to the Settings.
On the left side you will see a list of pages in the Settings. Click “Advanced.”
Next you will click “Sync with mobile” (this should be the second option from the top of the page) and then you will enter your password.
Lastly, you will open the camera on your phone and scan the QR code you’re now seeing on your desktop screen.
*If you do your initial account setup on the mobile app you will click “Create a new wallet” instead of “Sync with MetaMask extension” in Step 3 and follow the rest of the instructions regarding your password and seed phrase (remember to write this seed phrase down and store it somewhere private and safe).
Linking MetaMask to blokpax.com:
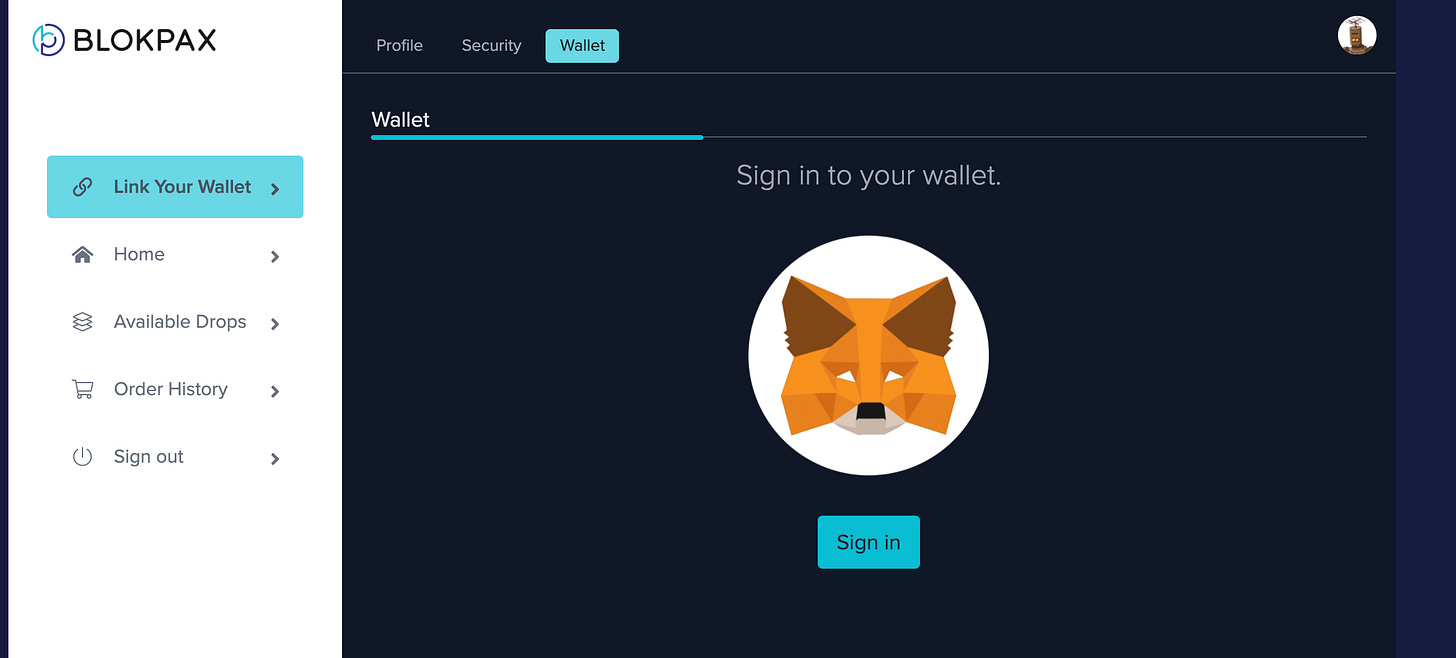
Once you’ve created your MetaMask account, you can then link to blokpax.com. After you log in on blokpax.com, click the blue “Link Your Wallet” button and, with the MetaMask Chrome Extension installed, sign into your wallet. Your wallet can now be found under Settings > Wallet.
Creating a Coinbase Account:
Coinbase is one of the most commonly used platforms for cryptocurrency exchange. You can buy, sell, and trade popular cryptocurrencies such as Bitcoin, Ether (Ethereum), Litecoin, and many more.
Visit coinbase.com/signup.
Enter your first and last name, an email address you have easy access to, a strong password, and your state of residence. (You want to be sure all of this information is accurate because Coinbase will require proof). Agree to the terms and conditions and then click “Create account”.
Depending on when you do this, Coinbase may or may not offer you a gift for signing up. If they offer you a gift you should see it on this screen. Accept it (or decline) and proceed.
Next, Coinbase will send you a verification email. Check your email and use the link provided to continue the sign up process.
After you click the link in your email, Coinbase will ask for a phone number to text you a verification code. Enter your phone number and press “Send Code.”
Once you receive the code, enter it and click “Submit.” (If you didn’t receive the code click “Resend SMS.”)
Next you will confirm your country of residence.
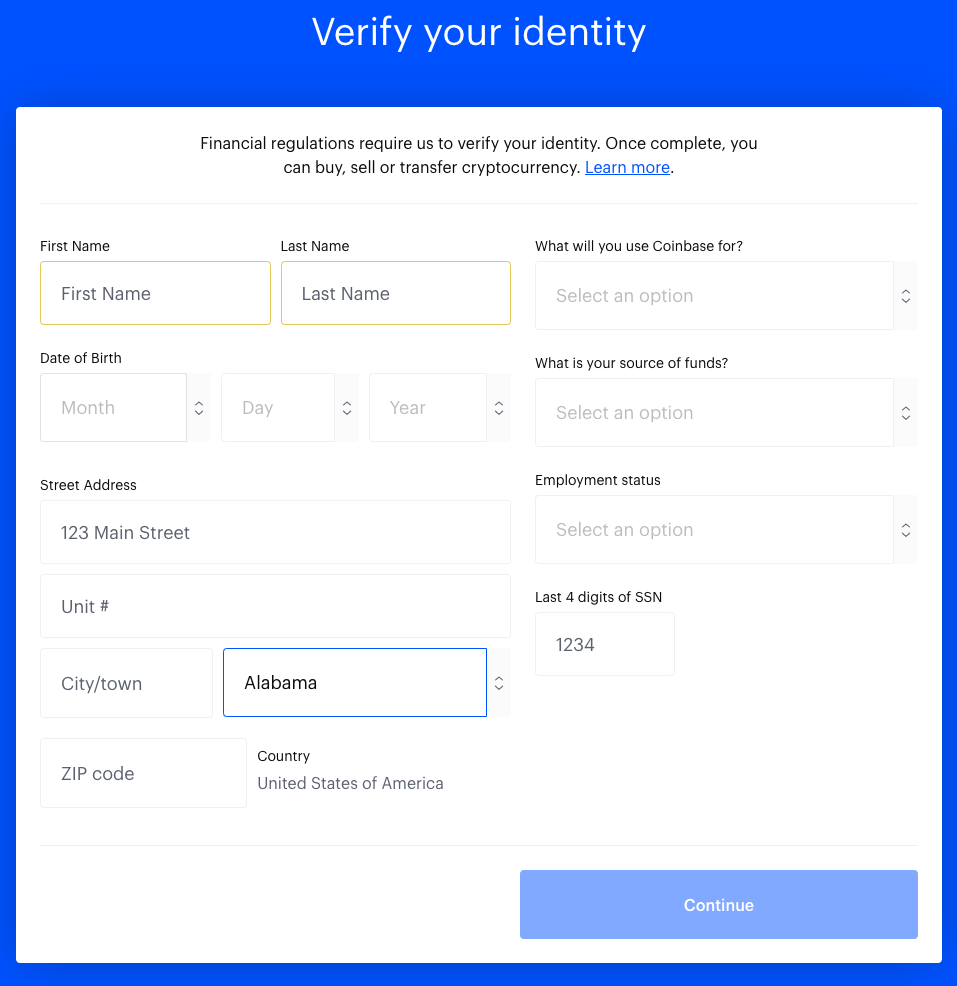
Next you will enter your personal information (name, birthday, address, source of funds, employment status, last 4 digits of SSN, and purpose for using Coinbase). Again, be sure all of this information reflects what is shown on your license/ID. When you’re finished click “Submit.”
Coinbase will now ask a couple of questions for legal purposes. Answer accurately.
Now you should be in your Coinbase account! On the home screen you should see an option that says “Verify your ID.” Click there to upload a photo of the front and back of your license/ID. Verification usually takes a few minutes after you’ve submitted the photos.
After verifying your ID you will need to link a payment method. Click the button on the home screen that says “Add payment method.” Using a bank account is recommended because they process buy orders instantly. You can also use PayPal, a debit card, wire transfers, or a Coinbase gift card.
Sending ETH from Coinbase to MetaMask (You do NOT need ETH to receive your Frax Token(s); you only need to purchase ETH if you would like to buy other Frax Tokens or participate in community trading of RAZZ Tokens.):
First you will need to purchase the ETH in coinbase. Click the “Buy/Sell” button in the top right corner (the blue button with two arrows on mobile).
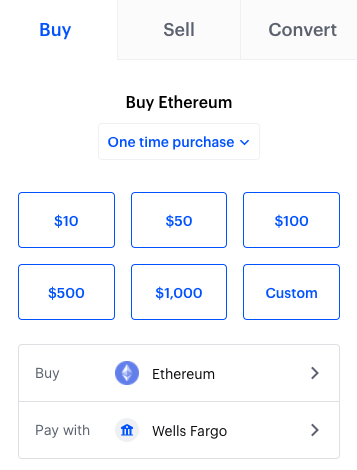
You’ll see the option to buy, sell, or convert. Click “Buy.”
Next you will need to select which currency you are buying. Click “Ethereum (ETH).”
You will also need to enter your purchase amount. You can use one of the options provided or click “Custom” in the bottom right corner (Custom will appear as “...” on mobile). *Reminder: $50 (about .025 ETH) should be more than enough to cover the gas fee to claim your fraxional token, but you may want to grab some extra ETH ahead of time to use during the community trading period.
After you enter your purchase amount you will click “Preview buy.” After you have reviewed the order and confirmed everything is accurate, click “Buy now.”
Once the money appears in your Coinbase wallet you can either copy the address of your MetaMask wallet and paste it to your recipient in Coinbase or use the mobile app version of Coinbase and scan the QR code of your MetaMask wallet (displayed on the desktop screen) with your mobile phone.
Note: There may be a waiting period before you see your ETH reflected in your Metamask wallet, so we recommend completing these steps as soon as possible.
How to convert ETH back to USD:
To convert the ETH back to USD in Coinbase, go to the portfolio, then the ETH wallet. You should see the “trade” button. Then you go to “sell” and choose how much you want to sell and convert back to USD.
If ETH is the only currency you have in the wallet you won’t be able to convert it all back. You’ll have to do a little less so there’s enough remaining to cover the Coinbase fee that comes with the transaction.
If you have trouble with any of the steps above, feel free to reach out to us in discord.


